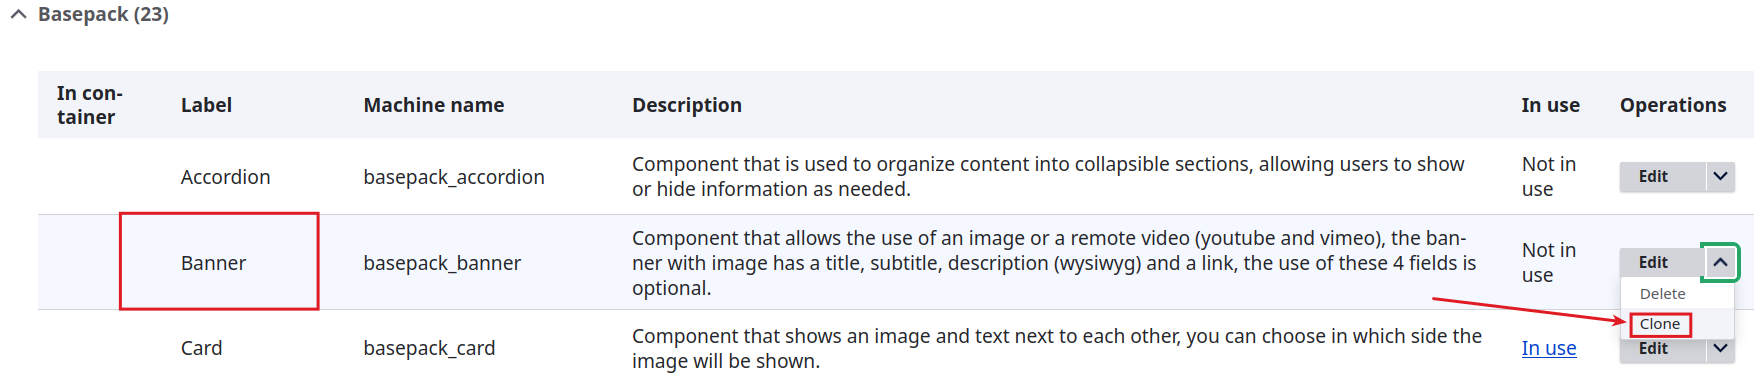
Sometimes, we may need something slightly different from what a component in the base or advanced pack offers. For instance, we might need the banner component to have two links instead of one. In these cases, we recommend cloning the necessary component and modifying the clone. Modifying the original components of the base or advanced pack is not recommended.
To clone a component, position yourself in the Operations column of the desired component, click the arrow, and select Clone.
Another screen will then open where we can choose the label/name and other options of the new component.
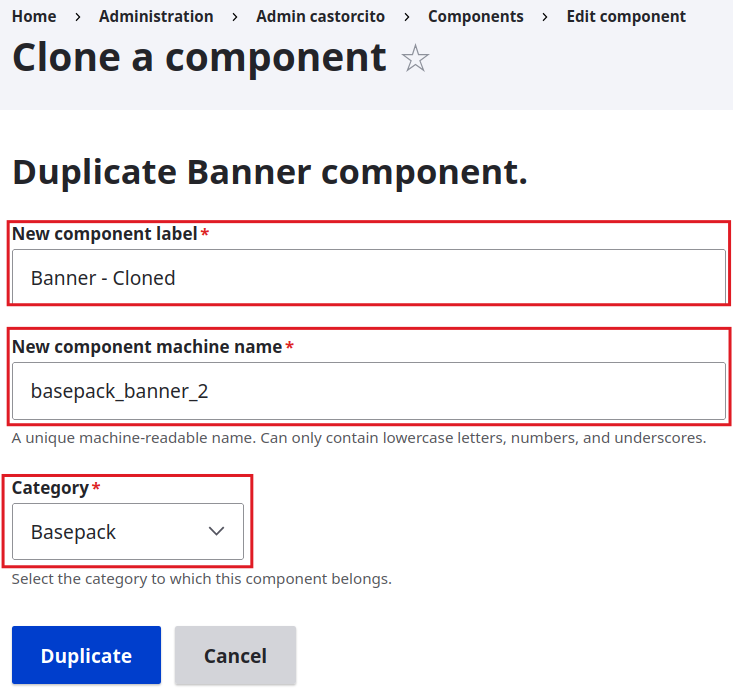
On this new screen, we can give the new component a name, a machine name, and a category.
The "Taylored" category is already created beforehand and is used to group new components (whether cloned or not), but you can also create a new category. Categories allow us to organize existing components.
More information about categories can be found here.
As you can see, we have modified the default values of the component name (New component label), the machine name, and the category, choosing "Taylored." Finally, click the "Duplicate" button.

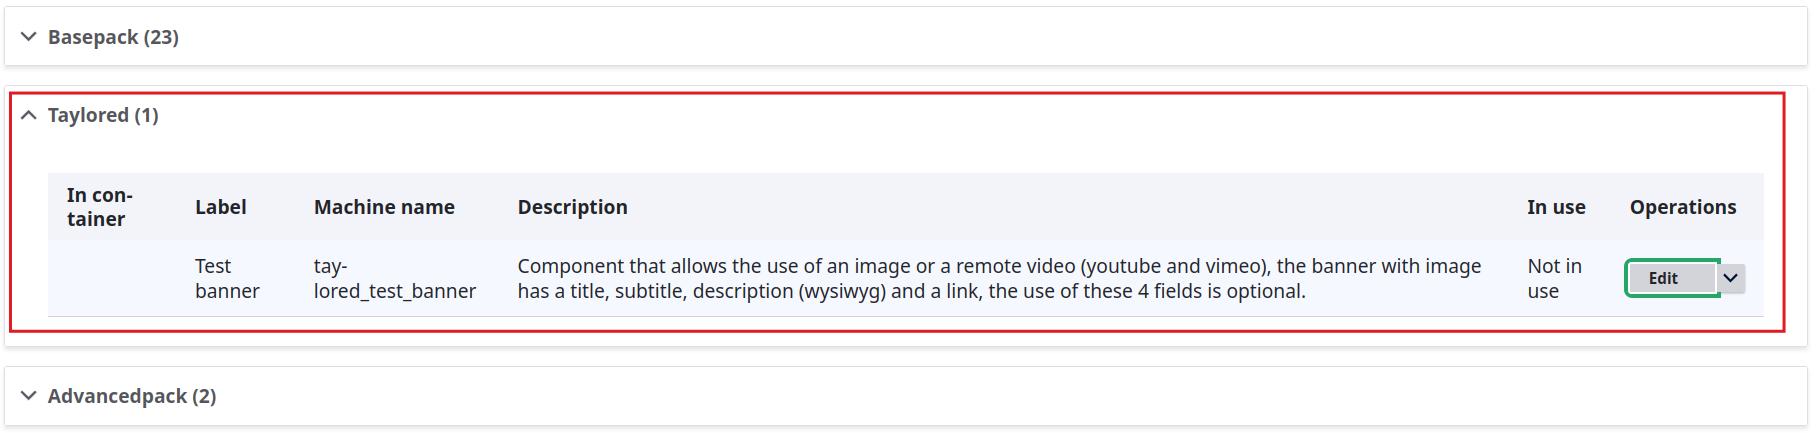
After this is done, a message will appear that says, "The component was cloned." Then, we will be able to see the component in its category.
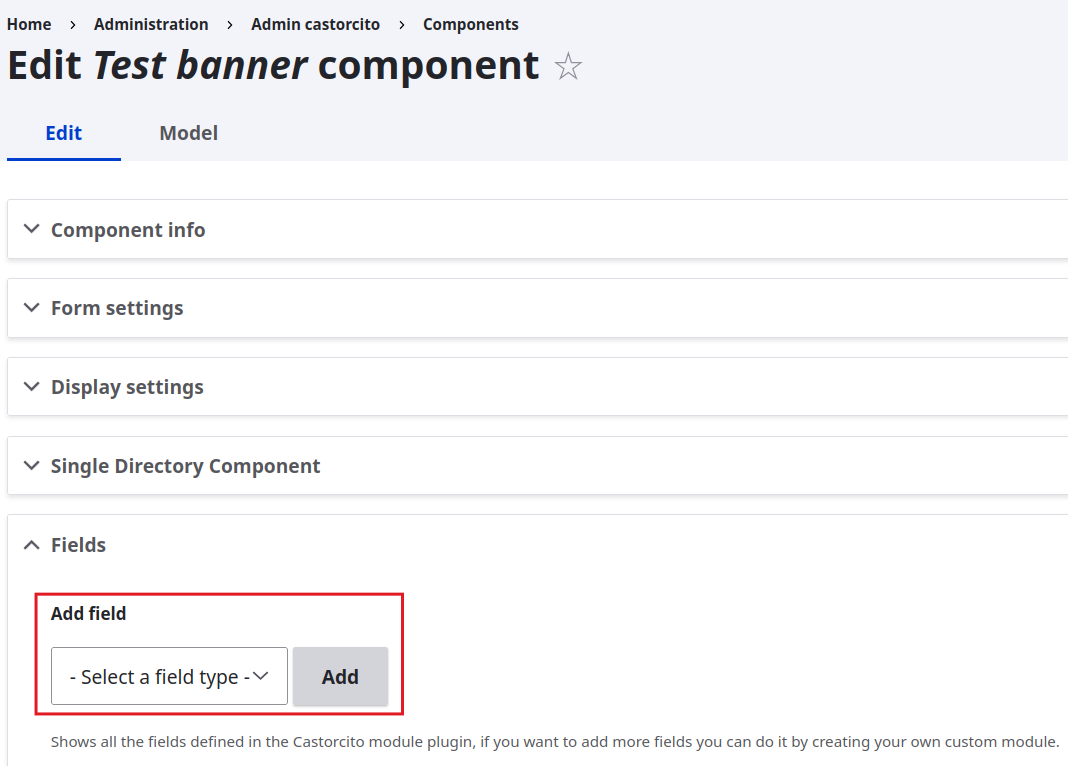
After creating the component, position yourself on the Operations column and click Edit.

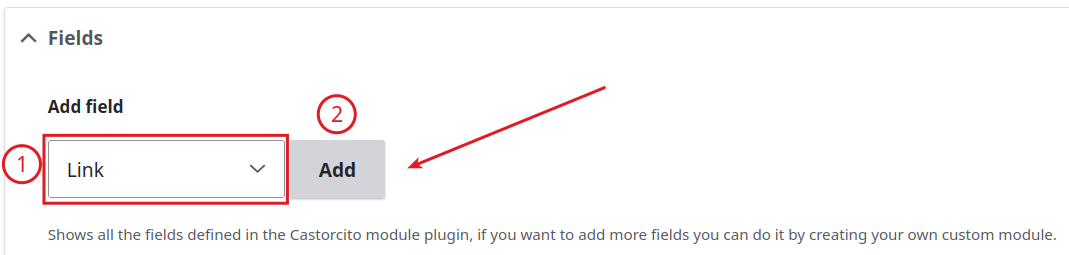
In this example, we will add a link field. To do so, hover over "Add Field" and select the desired field. In this case, select Link, then click Add.
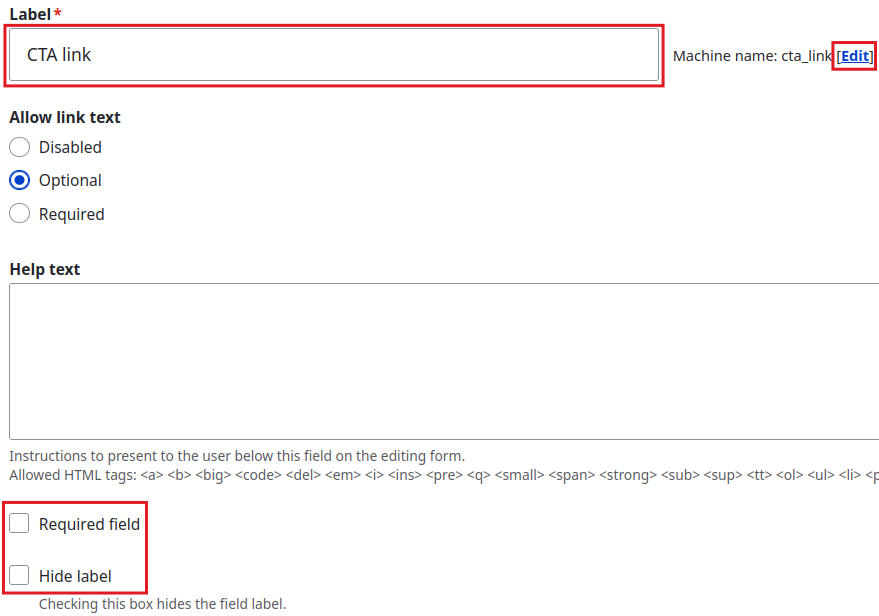
Then we will see another screen where we must enter the information for the new field, in this case its label and machine name. Likewise, below we have two checkboxes to activate options that are present in all field types, and these are:
- Required field. This makes the field mandatory
- Hide label. This hides the label in the editing form
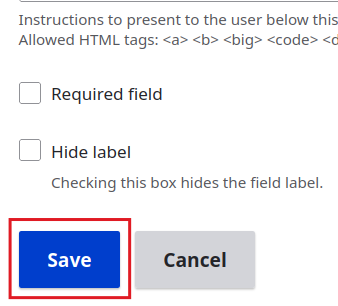
Once we have finished inputting the information, we will click the "Save" button.
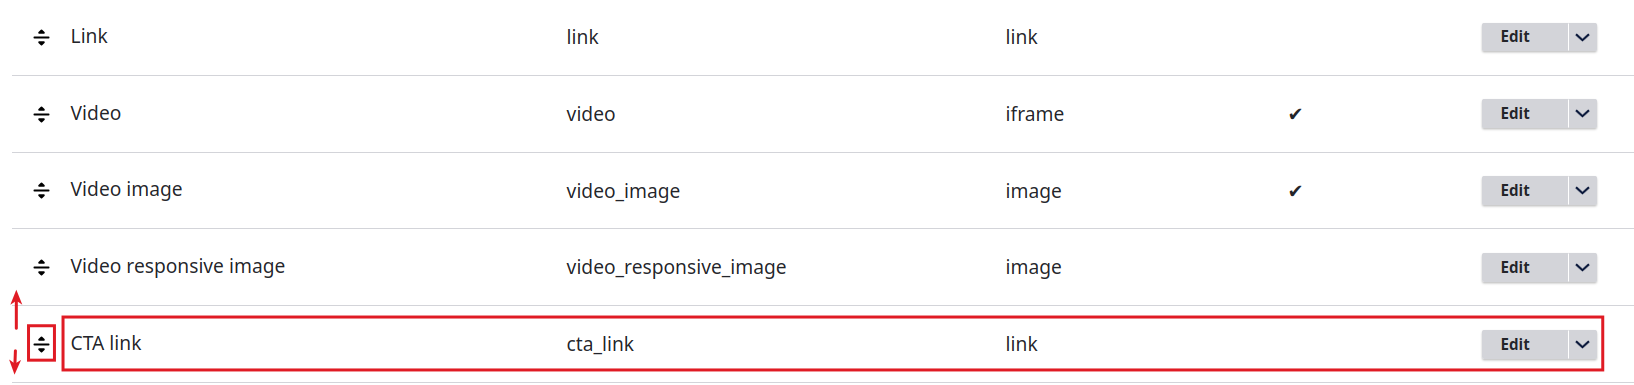
After that, we can see the new field alongside the others. The order of the fields can be rearranged, which will affect the order in which the field is filled out.